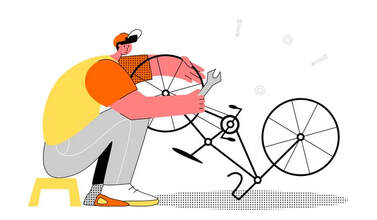
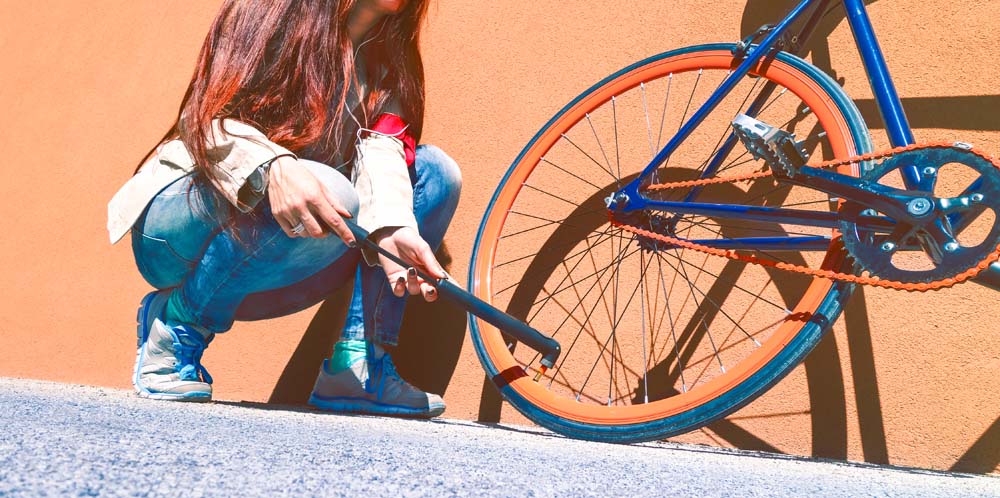
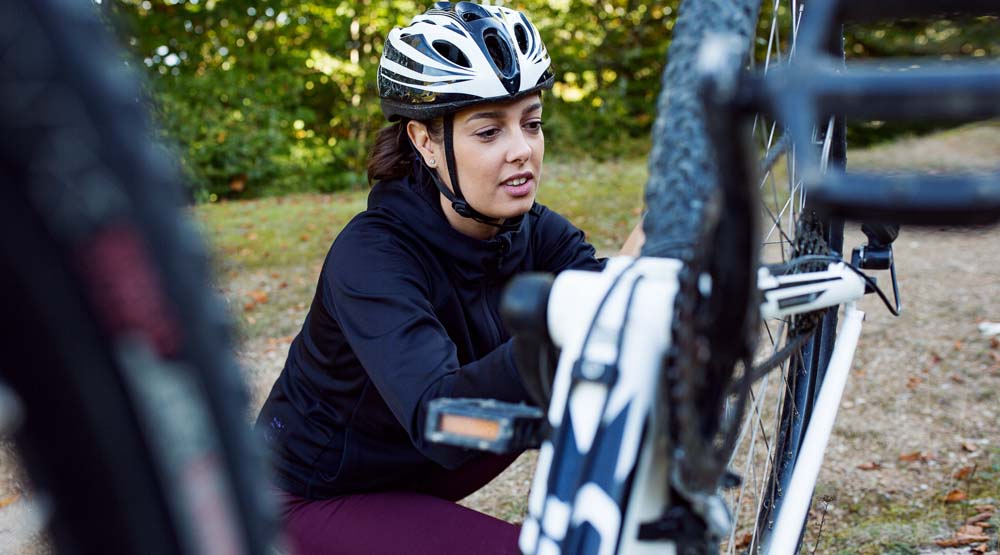
 If you are going on a trip a distance from home that includes cycling you will want to be prepared in case your bike lets you down with a mechanical problem. Regular bike maintenance will reduce the likelihood of an issue occurring while you are out riding that will interrupt your ride. Even if your bike has had the recommended routine service, however, an unexpected problem could pop up. If your bike rides are close to home or there is public transportation nearby you can take advantage of there is less likelihood of getting stranded. But If you are biking on a road far from home or deep into a trail a mechanical problem with your bike can ruin your day. If you know a few basic hacks for a temporary fix this will allow you to keep riding until you get home and address the problem with your bike. Following are 5 bike procedures you should know if you are going to be venturing a long way from home with your bike. If possible, you should practice them at home before your trip so that you aren’t trying to perform them for the first time on the road. Just knowing what procedure is needed does not do any good unless you can actually do it and have the necessary equipment with you. 1. Repair a damaged bike tire tube – A tire can go flat unexpectedly by rolling over a piece of glass or a stone and these are often smaller than the head of a pin so you would not be able to see from your position on a bike. If air is leaking out at a slow rate, this means the hole is small and by stopping and reinflating several times, you might be able to make it home. If it is a fast leak, you will need to repair it in order to continue on your journey. The basic process for a wheel that has a tube inside is to remove the tire bead from the rim making note of where it is seated in relation to the stem, then remove the tube, inflate it partially and listen or feel for a spot where air is escaping, then match it to the same area on the tire. You want to inspect the spot where the hole was to make sure a foreign body is not still embedded in the tire thread. If so, remove the object, likely a piece of glass, staple, nail, etc. If nothing is there, the culprit must have fallen out which is okay. Always check the remainder of the tire for anything embedded just to make sure anything that could cause another flat is not present. Either patch the tube or insert a new tube, inflate, and resume your ride. If your wheel is tubeless, the easiest way to fix a tire that is not holding air while on the road is to just insert a tube. Equipment needed to repair a damaged bike tire tube:
2. Repair a damaged tire – When your tire is flat and you take the wheel apart to replace the tube, you will also have the opportunity inspect the condition of the tire. What you are looking for is damage to the tire in the form of a large cut to the thread of the tire itself. This can happen if you bike over a sharp item in the road like metal construction plates or trail rails or a sharp item tears the sidewall. If there is a small hole in the tire created by a piece of glass or a thorn that is not a problem. What you want to look for is a large cut where there is a risk the tube can protrude from when it is under high air pressure resulting in a blowout. A seriously damaged tire will need to be replaced, but it might be possible to use a temporary work around—a tire boot. There are specially made tire boots that you can purchase in advance or you can improvise with a paper money such as a dollar bill. Put the tire boot, folded dollar bill, or something like an empty energy packet as a patch over the tear, insert the tube, and inflate. Your patch material cannot be paper because it will tear but paper currency contains fibers that will hold. Take an easy ride with this patch in place as it is designed as a temporary fix until you can get a new tire. Equipment needed to repair a damaged tire:
3. Reset a chain that has fallen off – If your chain has fallen off and the pedals no longer rotate smoothly or propel the bike you will need to put the chain back in place on one of the sprockets. If your bike has a rear derailleur, push it forward to relieve the tension from the chain and move the chain with your hand to one of the gears. Pedal a few times while holding the rear wheel up to get it back in sync with the shifters. If your bike is a single speed and the chain has fallen off, it is because the rear wheel is too far forward. You should put the chain back on with your hand and then use a wrench to loosen the axle bolts and move the rear wheel back so the chain is tight, but not too tight. Pedal a few times to make sure it flows smoothly. While you can reset a chain, there is a reason it came off in the first place so when you get home you should examine the drive train further and make adjustments to the derailleur to make sure it does not fall off again. Equipment needed to reset a chain:
4. Repair a broken chain – If you’ve broken your chain due to excessive force on the drivetrain it can be repaired in the field by removing any bent links and inserting a new master link. If you have a rear derailleur and you only need to remove one link there should be enough slack for you to continue normal operation, but if you need to remove several links you should avoid the larger gears until you can get home and replace the chain with new one of the correct length. Fixing a broken chain in the field should be a temporary fix and you should seek to get to the root cause of what caused the breakage.
Equipment needed to repair a broken chain:
5. Adjust brakes – if you have rim brakes and they are rubbing against the rim or bottoming out (the brake lever runs out of travel and hits the handlebar before it engages the brake), you might be able to use the barrel adjusters to lengthen or shorten the cable. Find the barrel adjuster associated with the brake you want to adjust and turn it one-quarter of a rotation at a time, no tool needed. It is clockwise to loosen the cable and counter-clockwise to tighten. Lift up the wheel and spin it to determine if you need to turn the barrel the opposite direction or another quarter turn. If you have disc brakes you will need to insert a hex wrench into the adjustment screw on the disc caliper to change the spacing of the disc pads over the rotor. Equipment needed to adjust brakes:
Investing in the equipment and time to learn these procedures will save the day and allow you to recount a tale of a bike trip with a pleasant memory and not a disaster. Comments are closed.
|
Earth Rider Blog about CycingAuthorSharon Kaminecki and others comment on adventures in bicycling and other stories Categories
All
Archives
August 2023
|


