Earth Rider
  • Home
  • Blog
  • About
    • Learning Center
    • Explore Ebikes
    • Newsletter signup
    • Privacy Policy
    • Refunds
    • Learning to Ride a Bike
  • Shop
    • Ebikes
    • Bikes >
      • Youth Bikes
    • Lights
    • Helmets
    • Bags and baskets
    • Accessories >
      • Pedals
    • Outerwear >
      • Glove Box
    • Apparel
    • Bicycle inspired goods >
      • Greeting Cards
  • Service
  • Rentals

How to do a Pre-Ride Inspection

2/28/2021

 
Picture
​Few people get excited about the topic of safety but it is something we all know we need to take seriously.  During a pandemic we are told to be safe by washing our hands, disinfecting surfaces and wearing a mask.  At the workplace we take steps to understand hazards and wear protective equipment. At home we lock our doors and windows, shovel our walks of snow and if we have small children, cover electrical outlets and hide cords.  In the car we wear a seat belt and follow traffic laws.  On the bike, there are also safety protocols, like wearing a helmet and being predictable. But there is one safety practice that is widely recommended even before beginning to ride.  

The League of American Bicyclists, a national bike advocacy organization founded in 1880 during the time of high wheel bikes and continues today as the leader of the movement to create a Bicycle Friendly America for everyone, is widely attributed as the creator of the ABC Quick Check.  The method it created has been interpreted,  adapted, and widely adopted by cycling clubs, charity rides, and communities.  A Google search on ABC Quick Check results in 99 million results.

The League makes a case for performing a brief check of your bike before every ride.  Between the last ride you took and this one, something could have changed on your bike either organically or intentionally. Cyclists are responsible for their own safety and keeping their riding equipment in good working order, so it is good to get into the habit of checking your equipment before every ride. Small adjustments can make a significant difference in your experience.
You may think that you do not have the time to perform a safety check before every ride, but it need not be a time-consuming exercise.  In the Google search we did on ABC Quick Check there were many videos demonstrating the technique starting at 32 seconds—so with practice it can be done very quickly.

ABC Quick Check is an acronym for what you need to check before every ride and the clever combination makes it easy to remember.  Let’s review all the components of the process.

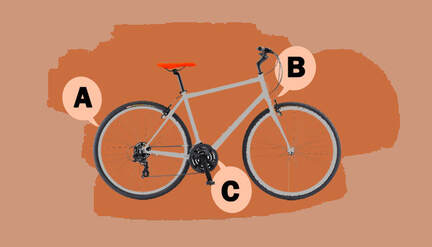
A is for Air
Check your tires for air.  Properly inflated tires are not only important for safety reasons, they're also essential for an enjoyable, efficient ride. You will have to work less if you tires are properly inflated, your bike will roll easier, although factors such as temperature, and the age and wear of your tires and rims, also play a part. The average tire loses about 3 pounds of pressure a day, which equates to 10-20 pounds over a week’s time, so although a few pounds will not be significant, it can add up over a short period of time.  That's why it's important to check your pressure before every ride.
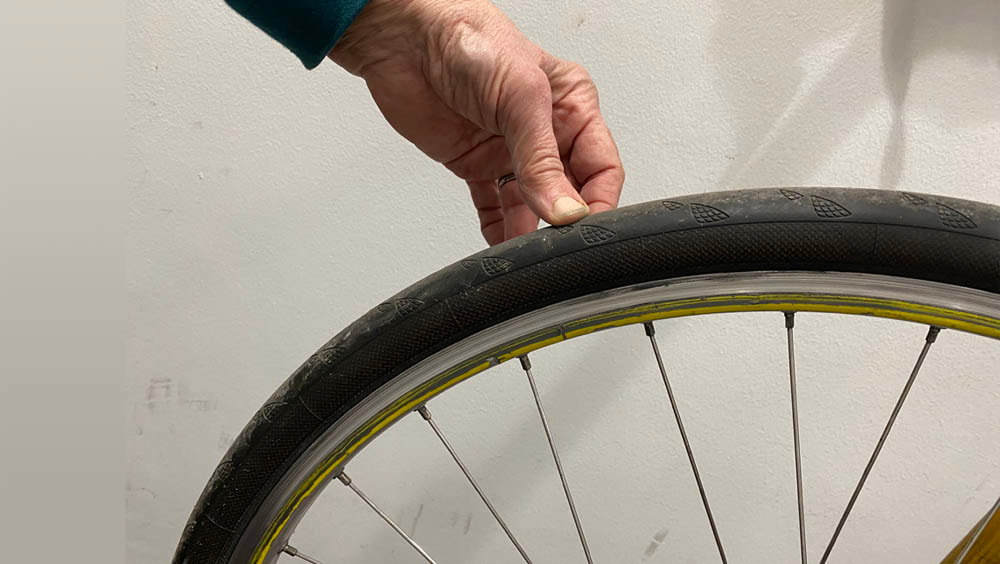
  • Fastest way to check air pressure - Start by pressing your thumb into each tire. They shouldn't give much, if at all. If you thumb sinks into the tire a little, they need some air.
  • Recommended pressure – The recommended pressure should be listed on the sidewall of the tire. Tire pressure is listed in pounds-per-square-inch, or psi. Recommended pressure is usually listed as a range (35 to 65 psi, for example) but it can be stated as a single maximum figure (like 65 psi).
  • Measurement of air pressure - If you think the tires need air you can verify this by measuring the actual pressure with a gauge or better yet just put the hose on the value from a pump that has a gauge.  If it needs air you can begin pumping and if not, just remove the hose.
  • How much to inflate - You do not have to inflate to the maximum amount and what you inflate to will depend on your riding style.  You'll probably want a higher psi at the top of the recommended range for better traction when riding on smooth pavement, and a lower psi for off-road riding or on city streets with lots of debris and where things are a bit bumpier. You may need to factor in rider weight, too. Unless you are racing on a closed course, the trend today is to roll with a little less pressure for a more comfortable ride.
  • Tire inspection - Check your tires for cuts, cracks and bald spots. If you have them, it's time for a new tire.
 

Picture
​B is for Brakes
Nothing can get you into trouble on a bike quicker than not being able to stop when you need to, so it is important to check your brakes every time you ride.
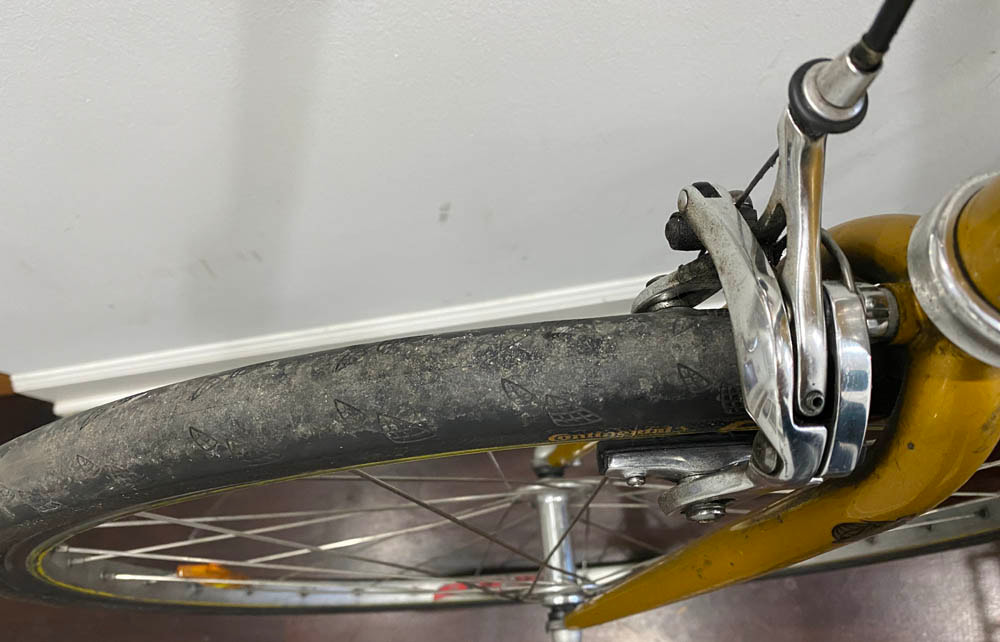
  • Inspect brake pad wear – Take a quick look at brake pads on the front and rear to make sure they have sufficient rubber to contact with the rim.  Plan to replace them if there's less than a quarter inch of pad material left.
  • Check for rubbing - Roll the bike forward or backward or lift each wheel off the ground to verity that the pads do not rub.  If they rub you will have to work harder and that is no fun, so you will want to get them adjusted as soon as possible. 
  • Check for stopping power - Check that the levers do not bottom out. If you squeeze the brakes and they hit the handlebar before the brake pads have contact with the rim, you will need to adjust the tension in the brake cable by pulling the cable to move the brakes so they sit closer to the rim.  If brake levels are touching the handlebars, you will not have the benefit of the full stopping power. 
  • Check the brake pad position - Make sure the brake pads have contact with the rim of the wheels and not the rubber of the tire.  If they are too high and tough the tire, even in a small section, they will wear more quickly and not stop as well. 


Picture
C is for Crank and Chain
The crank and chain are parts of the drive chain and are close to each other on the bike and easy to check together.   
  • Inspect cranks -  Look at the front crank for any damage and dents. 
  • Check cranks are secure – You can check for "play" by grabbing one of the crankarms (not the pedal) and gently shaking it. There shouldn't be any looseness (play). If there is, you'll need to tighten the crank bolt. If there's still some play after that, you may need to adjust the bearings or have them replaced. You'll likely have that done at your local bike shop.
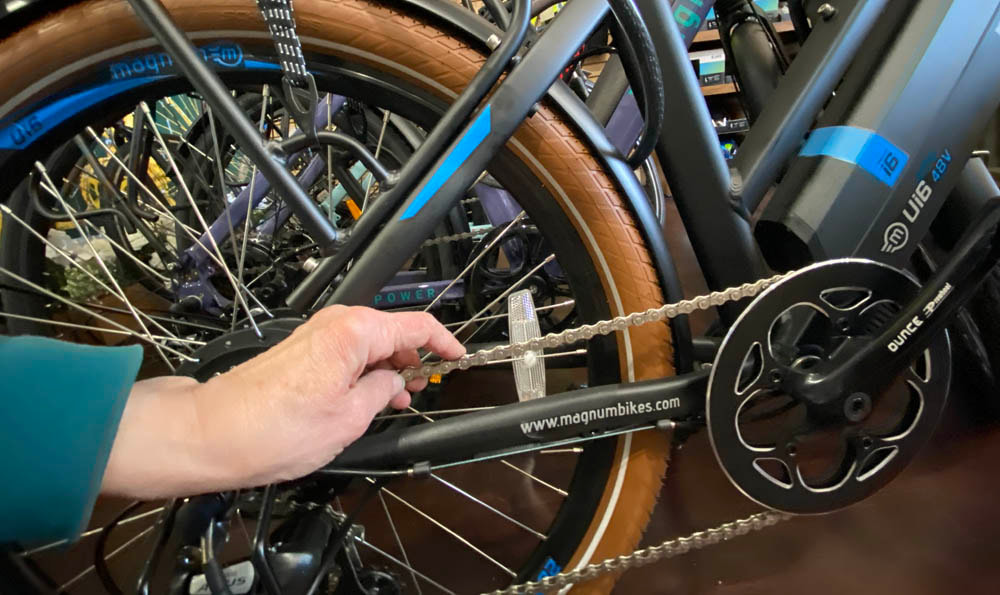
  • Look for chain damage - Check that each link is able to rotate and move freely as it runs along the cranks and cassette or freewheel.  If you lift the rear wheel and turn the cranks and find there is any sticking links, apply some lube to get them moving again.  If that does not loosen the link or if any are warped or bent, you’ll need to replace the chain.
  •  Cleanliness of the chain.  If the chain is particularly grimy, it will attract dirt into the rollers and this will adversely impact the chain’s performance.  In this case, take a rag and wipe off the excess grime, applying a little lube along the way.  If the chain dry or rusty it needs lube to operate smoothly.  

Picture
​Q is for Quick Releases
If your bike has quick release levers the “Q” is a reminder to check they are in the closed position and fit tightly.  Quick release levers are often found on wheel hubs and at the seat post connection.  Quick release levers are not on all bikes.  Some wheels and seat posts are secured with a bolt or with a locking skewer.  These quick release levers are designed to enable the wheels to be removed and the saddle to be repositioned without any tools and although they do not work their way lose by themselves, if they were not attached or tightened correctly or if they were tampered with, it could be a serious safety hazard. 

Hold the closed end of the quick release lever with one hand and the lever with the other and turn the lever until it is tight enough to press close with the heel of your hand.  If it is too tight, you will not be able to close it and if it is too loose it will be floppy, so find the perfect setting. 

Check is for Check it Over
Lift the bike off of the ground, give it a shake and then, from a height of only an inch or so, drop it. What you're looking and listening for are rattles or other noises that might indicate a problem. Tighten what rattles.
 
Safety Equipment

While not officially part of the ABC Quick Check procedure, there are a few pieces of safety equipment that are worth mentioning.

Safety Equipment on the Bike
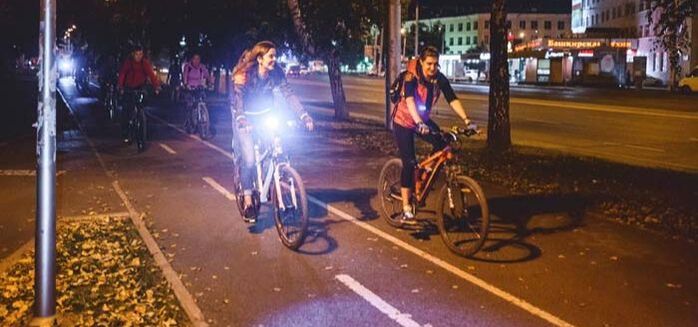
Being safe means seeing and being seen.
  • Reflectors - Reflectors are a passive safety feature that help increase visibility on the road by allowing other road users to see you with light reflected from other sources such as car headlights. They are recommended for both the front and back of the bike, but a red reflector, mounted on a rear fender, rack, or the back of the saddle, is a must. Many pedal designs include reflectors that provide additional visibility while moving which gets the attention of others on the road.  There are also reflectors that fit between the spokes on the front and rear wheels to achieve visibility from the sides.
  • Lights – Different municipalities have different requirements for active lighting but in Illinois a front light is required at night.  A rear light, either solid or blinking is not required, but recommended. On days where it is overcast or cloudy, lights should be used the same as if it is nighttime.  But why stop there?  Studies have shown a reduction in crashes by operating lights at all times, night and day.  This practice is called “daytime running lights” and this has been popular on cars for a few years.  All lights are not created equal since there are different levels of brightness and flashing patterns, so you should do a little research or seek advice from a local bike shop on what is best for you and your budget.
  • Mirrors – A rear view mirror is a critical piece of equipment in the dashboard of a car, but mirrors are not always found on a bike because of the physical limitations of a bike, there being no easy place to mount a rear view mirror.  There are some creative solutions of mirrors mounted on handlebars, helmets, and eyeglasses to provide visibility behind you.  If you can find one that works for your bike setup and riding style, it is worth the investment. 
  • Bells – Providing an audible signal when you are passing other road users is the function of a bell or horn.  There are various alert levels and sounds and some have battery amplification to be better heard in noisy environments.  Communicating your intentions and alerting that you are nearby and negotiating with others on the road is a good idea, either through hand signals, a bell, eye contact, or your voice.
Picture
​Safety Equipment for the Rider
Riders should wear clothes that help them to be seen and equipment that protects them from injury.
  • Helmet - The golden rule for bicycle safety is: Never ride without a helmet. The risk of brain injury caused by a bike accident is relatively small, but if it should occur it can be very serious. Be sure your helmet fits and is adjusted correctly and is approved by the Consumer Product Safety Commission.
  • Gloves – Padded gloves are useful to wear while riding a bike because they make gripping the handlebars more comfortable, absorb slippery sweat, and provide protection in case of a crash. 
  • Clothing - Always wear bright clothes and select outerwear with fluorescent material or reflective tape. They'll help others see you better.  Avoid loose pant legs that can get caught in the bike's chain, but if you must, use leg straps or rubber bands to secure the fabric close to your legs. 
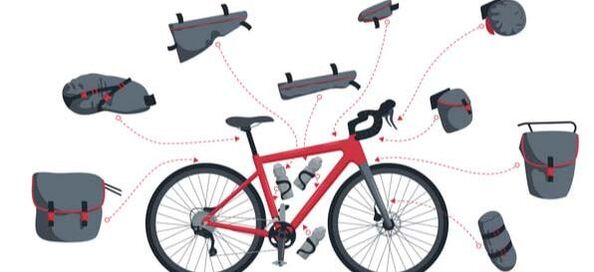
  • Carrying items - Carry important personal items in pockets or a bike bag.  Common items you will want to carry in case of an emergency include identification, keys, money, cell phone or one of the new digital identification products.  Many people like to carry small tools to make adjustments while on the road and the equipment to fix a flat such as tire levers, spare tube or patch kit, and inflation source.   
Picture

Comments are closed.

    Earth Rider Blog about Cycling


    Author

    Sharon Kaminecki and others comment on adventures in bicycling and other stories

    Categories

    All
    Being Visible On Your Bike
    Bike Comfort
    Bike Safety
    Buying A Bike
    Cycling General Interest
    Learning About Ebikes
    Protecting Your Bike


    Archives

    January 2023
    December 2022
    November 2022
    October 2022
    September 2022
    August 2022
    July 2022
    June 2022
    May 2022
    April 2022
    March 2022
    February 2022
    January 2022
    December 2021
    November 2021
    October 2021
    September 2021
    August 2021
    July 2021
    June 2021
    May 2021
    April 2021
    March 2021
    February 2021
    January 2021
    December 2020
    November 2020
    October 2020
    September 2020
    August 2020
    July 2020
    June 2020
    May 2020
    April 2020
    March 2020
    February 2020
    January 2020
    December 2019
    November 2019
    October 2019
    September 2019
    August 2019
    July 2019
    June 2019
    May 2019
    April 2019
    March 2019
    February 2019
    January 2019
    November 2018
    October 2018
    September 2018
    June 2018
    May 2018
    March 2018
    February 2018
    January 2018
    November 2017
    October 2017

Earth Rider logo of earth intersected with a banner with an image of a cyclist and the words Earth Rider in colors blue, green, aqua, black and red

Address

1873 N Milwaukee Ave
​Chicago, IL 60647

Phone

773-360-1816

Email

bikefun@earthridercycling.com

Payment methods:
Credits card visa, mastercard, american express, and discover
Sign up for our newsletter - click here.

Winter Hours              

Wed. 10am - 8pm
Thu.   10am - 5pm
Fri.      10am - 5pm
Sat.      10am - 5pm
Sun.     Closed
​Mon.    Closed
Tues.    Closed
Or by appointment--contact us!
SPECIAL HOURS:  Closed 1/20-24 for Brazen Dropouts Bike Swap; 2/7-9 for CABDA Midwest
  • Home
  • Blog
  • About
    • Learning Center
    • Explore Ebikes
    • Newsletter signup
    • Privacy Policy
    • Refunds
    • Learning to Ride a Bike
  • Shop
    • Ebikes
    • Bikes >
      • Youth Bikes
    • Lights
    • Helmets
    • Bags and baskets
    • Accessories >
      • Pedals
    • Outerwear >
      • Glove Box
    • Apparel
    • Bicycle inspired goods >
      • Greeting Cards
  • Service
  • Rentals